Near the end of last semester, we (WSU profs) were informed that we needed to make our documents comply with the new accessibility guidelines coming in April 2026. We don’t have any help with this, but after 50 or so hours of creating documents over winter break, I’ve worked out a workflow that I’m setting down here, primarily so I won’t forget it the next time. There may be better ways, but this works.
The guidelines specify that we should not use .pdfs (even if they have been through OCR [Optical Character Recognition] scanning), not use bold but use headers (H2, H3, and H4 are available to us in Canvas), not use tables, and so on. I can’t follow those guidelines in this post because of WordPress–sorry.
First, acquire the text online, if possible.
- If it’s already online and in the public domain, that makes life easier. Project Gutenberg is an obvious choice.
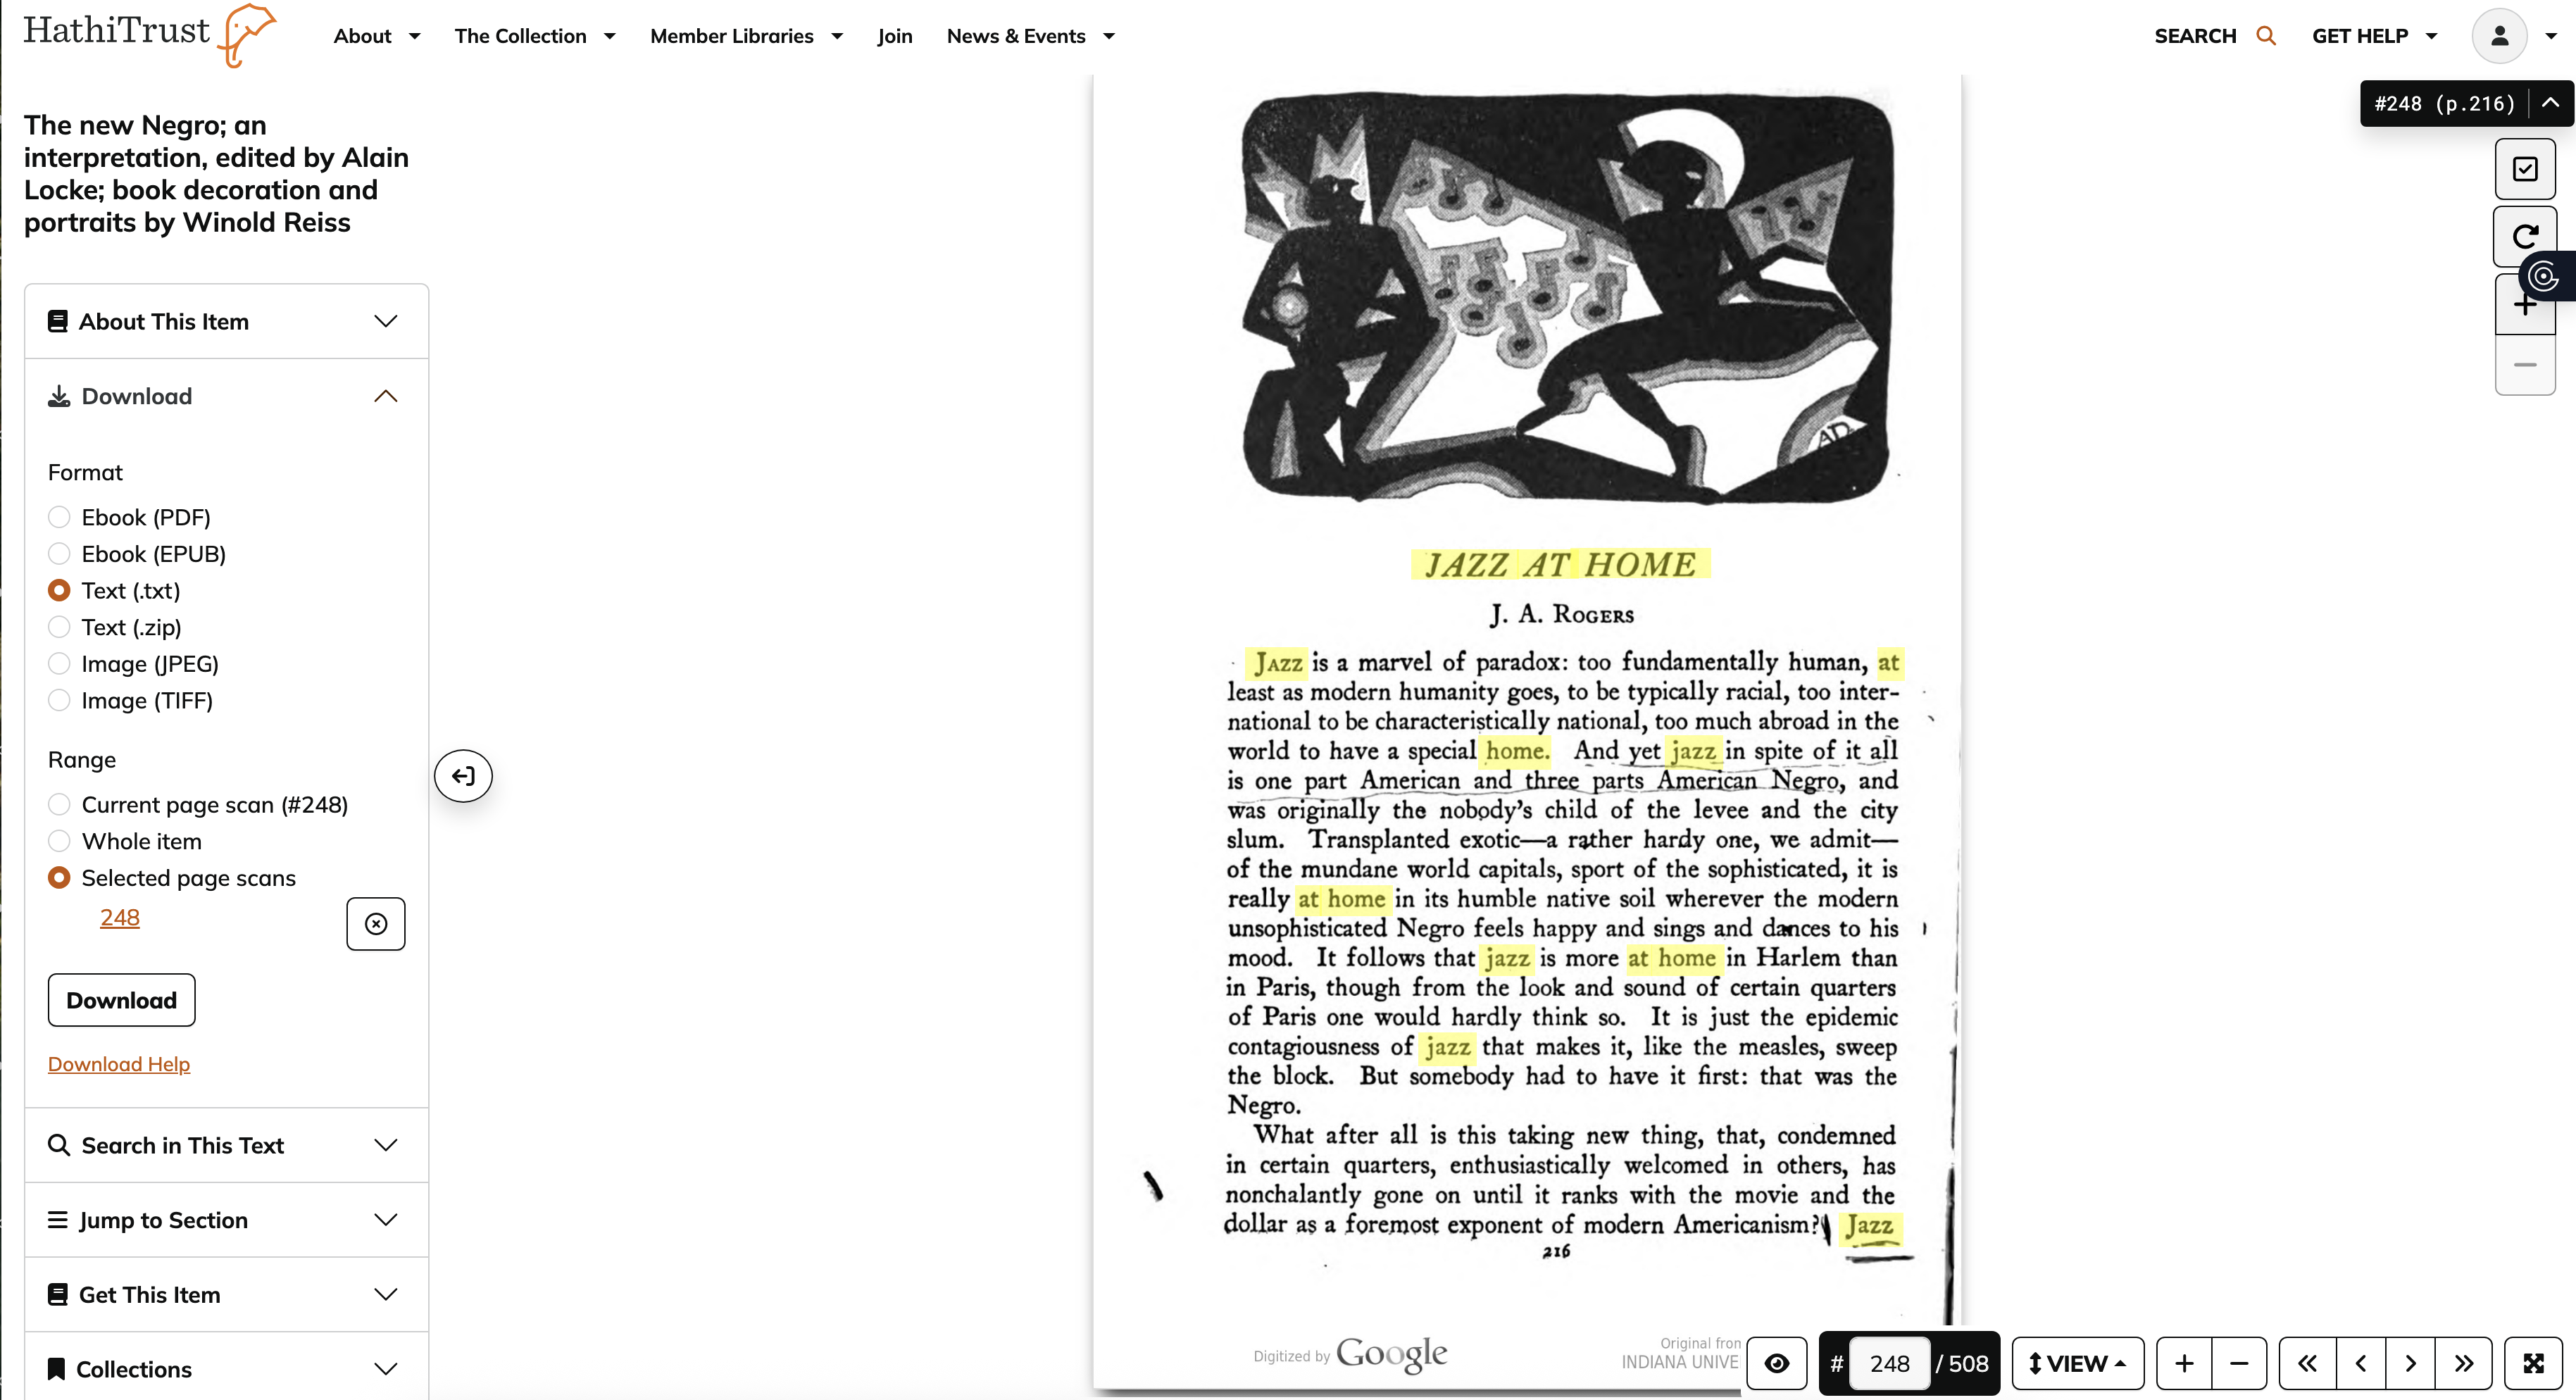
- Also try HathiTrust. The entire issue of Fire!! is there, for example. I was able to get Richard Bruce Nugent’s “Smoke, Lilies and Jade” and Joel A. Rogers’s “Jazz at Home” for my Jazz Age/Harlem Renaissance class. The page images are there, but to create a text document to paste into Word do this:
- Sign in through your institution
- Select Text under the Download panel on the left
- Check the box on the upper right-hand side under the page number to select the pages to scan
- Click on Download. You now have a text version that you can clean up for posting to Canvas.
- JSTOR is also useful for getting critical articles if you’re excerpting older material. It has already been through an OCR process, and selections can be copied and pasted into Word for the process described below. Since I’m teaching undergraduate courses, we are not always reading the entirety of a critical piece, although the link to the source material is always provided.
If the source material isn’t online . . .
. . . this means you’ll have to copy, scan, OCR, transfer or convert to Word, clean it up (inserting page numbers and making paragraphs be paragraphs) and proof it before putting it into Canvas.
- Copy and scan to .pdf. There are three or four basic ways to scan something to a .pdf so that you can work with it. Here are my experiences with each:
- Copy the material from the book using a printer/scanner/copier such as most departments have and then scan the copied pages. This is the method I mostly use, because a flattened text makes for a better .pdf. I have a printer at home that can do this as well.
- Scan directly from a printer/scanner/copier such as most departments have. The problems: if I forget a page, it’s a nuisance to go back and rescan, etc.
- Use a phone app such as ScannerPro. ScannerPro and other such apps (I’ve used a few but ended up choosing ScannerPro) can directly convert the image to OCR text, which is an advantage. They work okay, but they work better with flat materials than with book materials.
- Photograph the materials. If you’re copying from a book, this has the same disadvantages (curved surfaces) as the book scanner. Also, you’re adding another step: gather picture pages into a document -> convert to .pdf (easiest in Preview) -> send to Adobe for OCR.
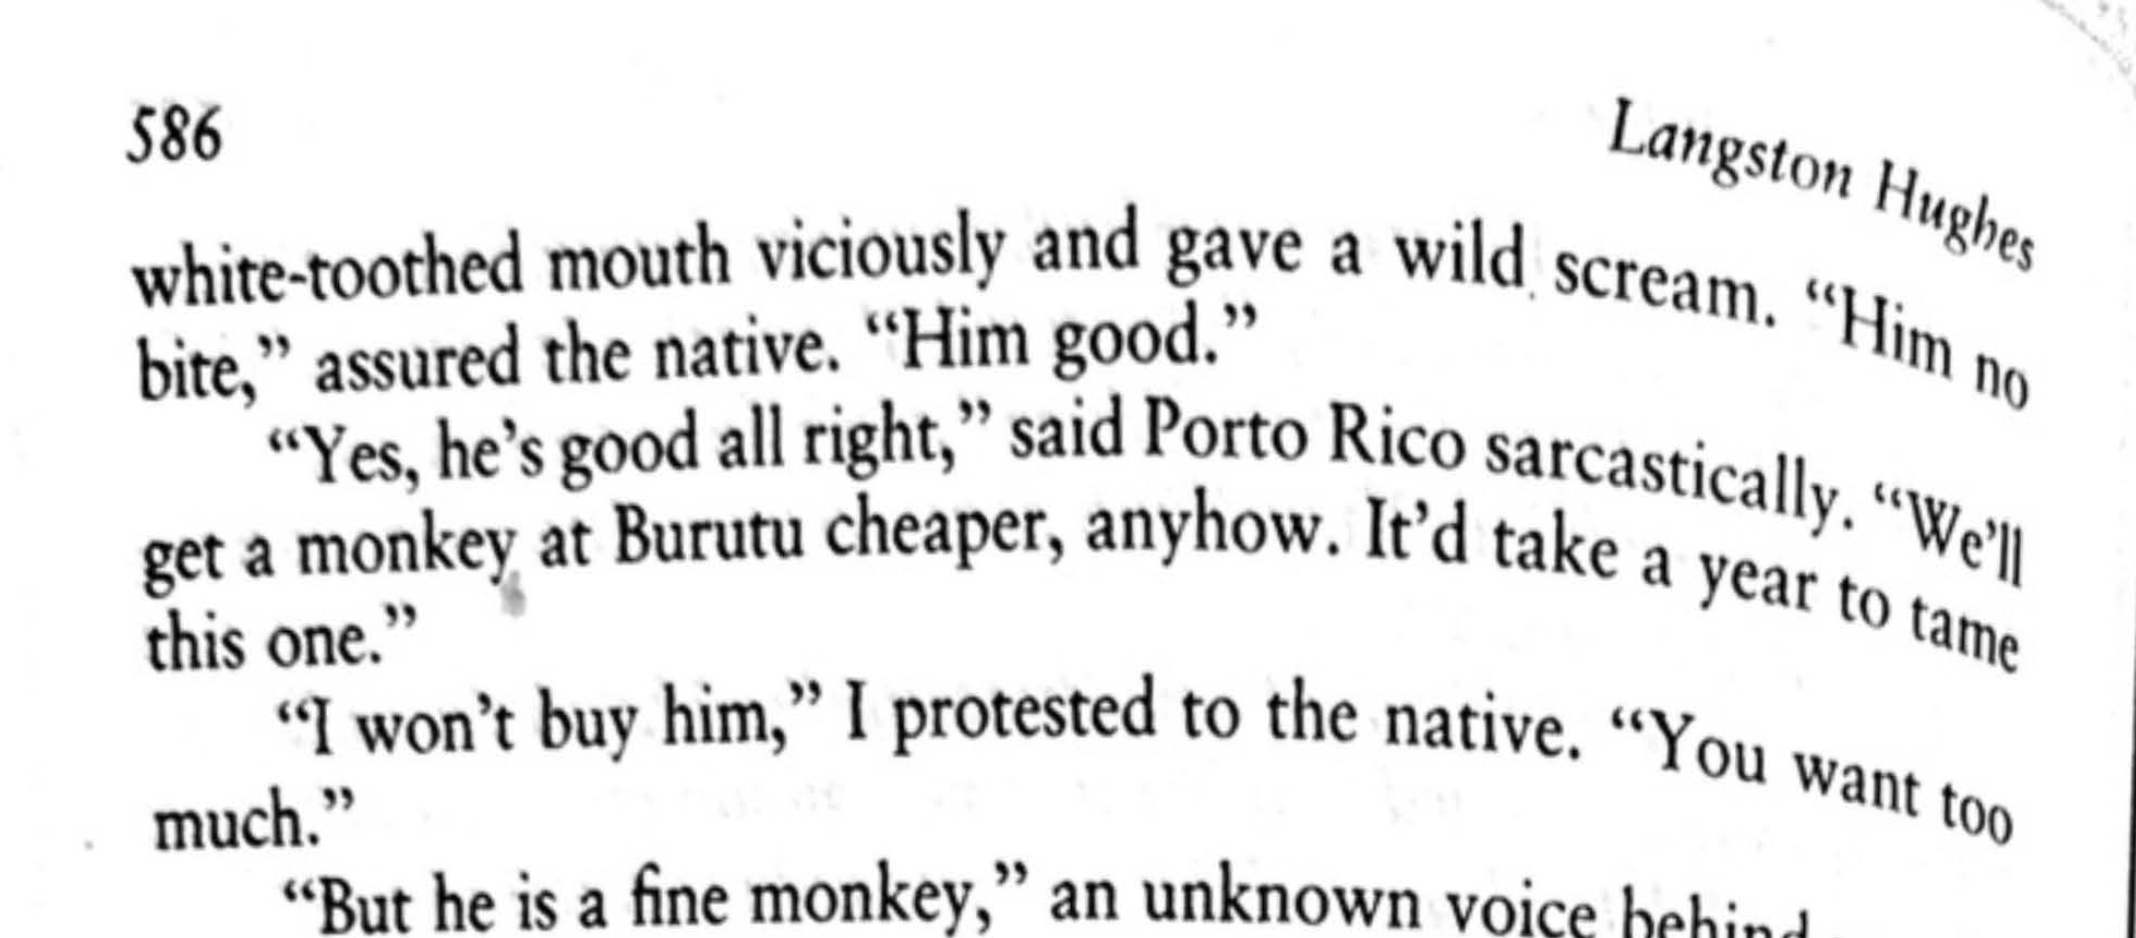
- Use a book scanner to copy. In theory, this should work well. In practice, it sometimes creates a mess like this, which causes mayhem with the OCR process and produces gibberish that you then have to clean up. I had the settings set to make it appear flat, but it didn’t work.
2. Convert to an OCR-enabled .pdf and possibly to Word. You can do this with Adobe. Google Docs actually works better than Adobe at this conversion. Upload the .pdf to Google Docs and then open the document.
I tried ABBYYFineReader but didn’t have much luck. I tried GPT4, which I even paid for because it is supposed to be a wizard at this kind of thing, but it flapped its pretty little hands at me and said either (1) not now or (2) I can’t do this.
- You open the .pdf in Adobe and tell it to Recognize Text (OCR). You can do this with a batch of .pdfs at once. At this point I usually rename the file with _OCR.pdf on the end so that I can remember whether it has gone through the process or not.
- Plan A: Adobe also has a “Convert to Word” feature (not in the free version, I don’t think). Sometimes the conversion still leaves a lot of cruft in the document that you have to clean up, and if you’ve scanned two pages to a single copier page, it’s going to be more work to convert it.
- Plan B: Once you have the OCR-ified .pdf, you can open it, highlight each page, Control-C to copy it, and Control-V to copy it into a Word document.
3. Clean up the Word document.
- Even if you end up with a reasonably clean Word document, you might still have to make changes. For example, copying and pasting into Word can leave paragraph marks between sentences:
You can’t get rid of these (if you wanted to) by using the Word line-spacing feature. Here’s how you can get rid of them:
- In Word, go to Search – Replace.
- Highlight a paragraph.
- In Search put ^p [the paragraph end symbol]
- In Replace put a single space.
- Hit the Replace button each time before going on to the next paragraph.
- If you Select All the text and then hit Replace All, that will leave all the text in a giant lump. (Ask me how I know). This might work well for short pieces or pieces without dialogue, because then you can pick the page numbers out of the lump and format the paragraphs as usual. If there’s a lot of dialogue, you’ll be recreating a lot of paragraphs.
- However, if you’ve copied and pasted the page numbers in the header along with the text, it’s easy to separate the pages.
- Put in the page numbers from the source you’re using. I use brackets and Heading 4 to show that these are pages. I tried using paragraph numbers at first, but it was too cumbersome.
4. Create a page in Canvas. Our Global Campus (online WSU) encourages us to have everything possible right in Canvas, and that’s easy to do with Pages.
- Go to a Module and click on the + button on the gray bar.
- You want to Create a Page and then Name the Page.
- Once the page is created, copy and paste your Word document into it. Leave a downloadable copy there for students who prefer to read that way.
- This makes a clean, readable copy for students.

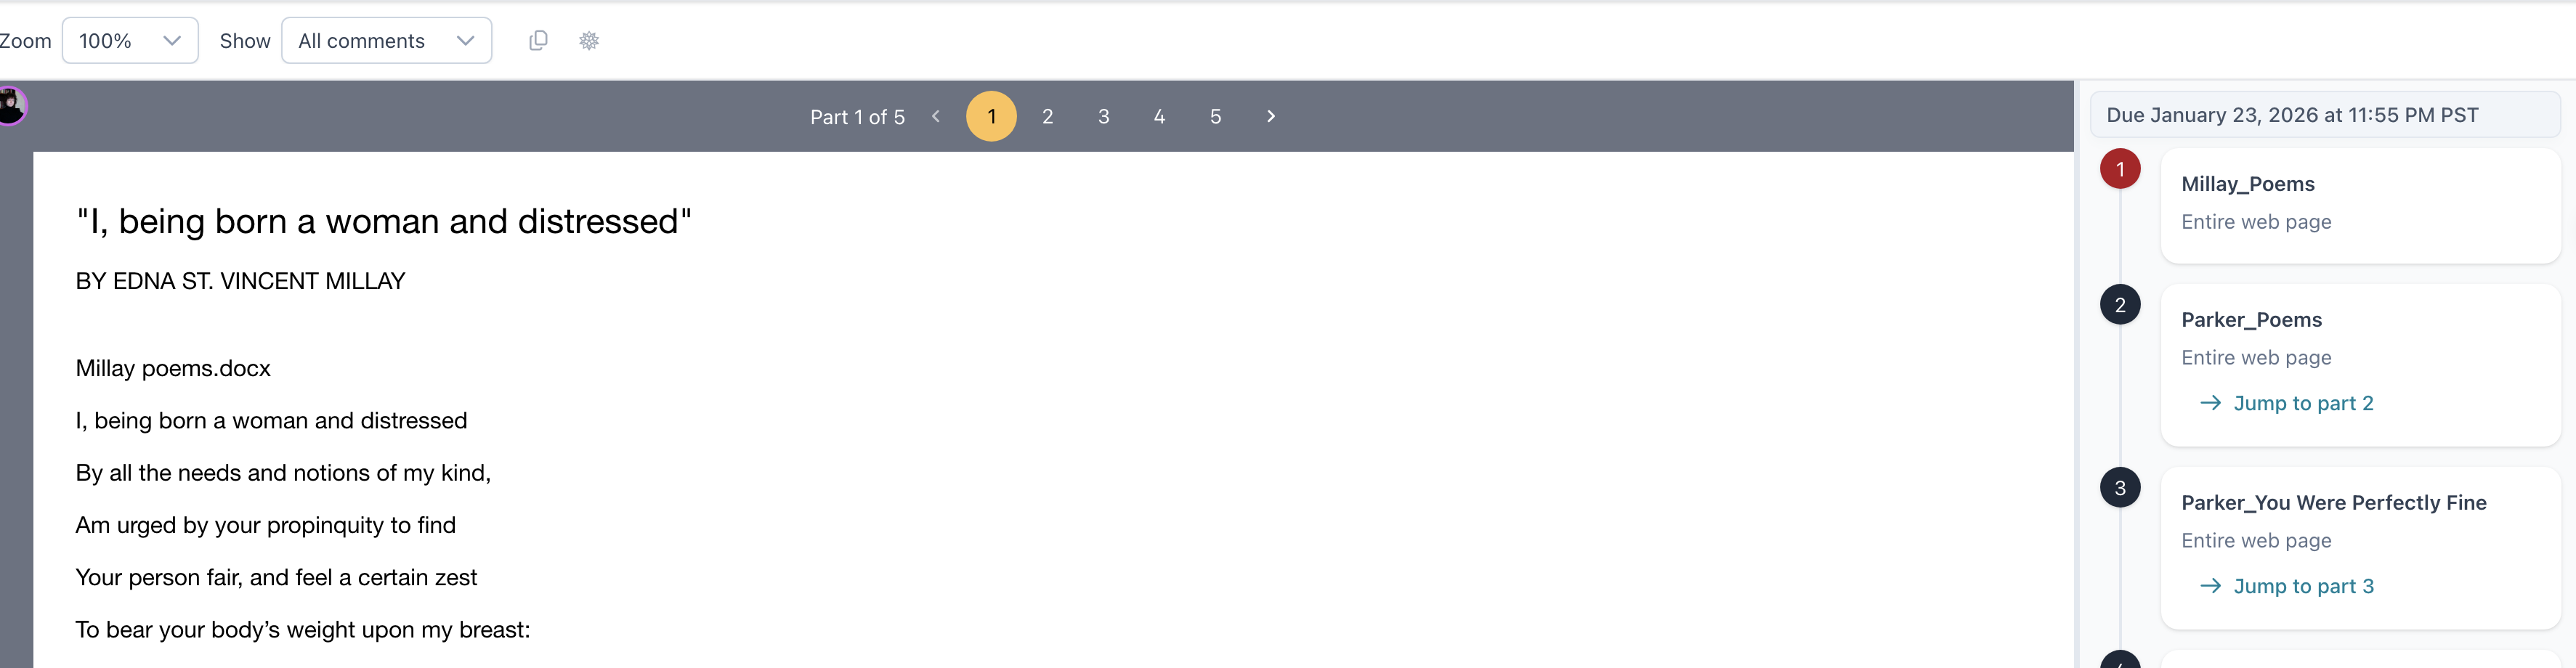
5. Use the Canvas page in Perusall.
If your class uses Perusall, this may be helpful. For a long time–too long–I didn’t realize that a .pdf had to be run through OCR to be highlightable in Perusall. (There was conflicting info about whether Perusall did this automatically.)
This semester, there’s a new or at least new-to-me feature wherein you can put the Canvas page right into Perusall. One of the options under Library is to fetch a Canvas page:
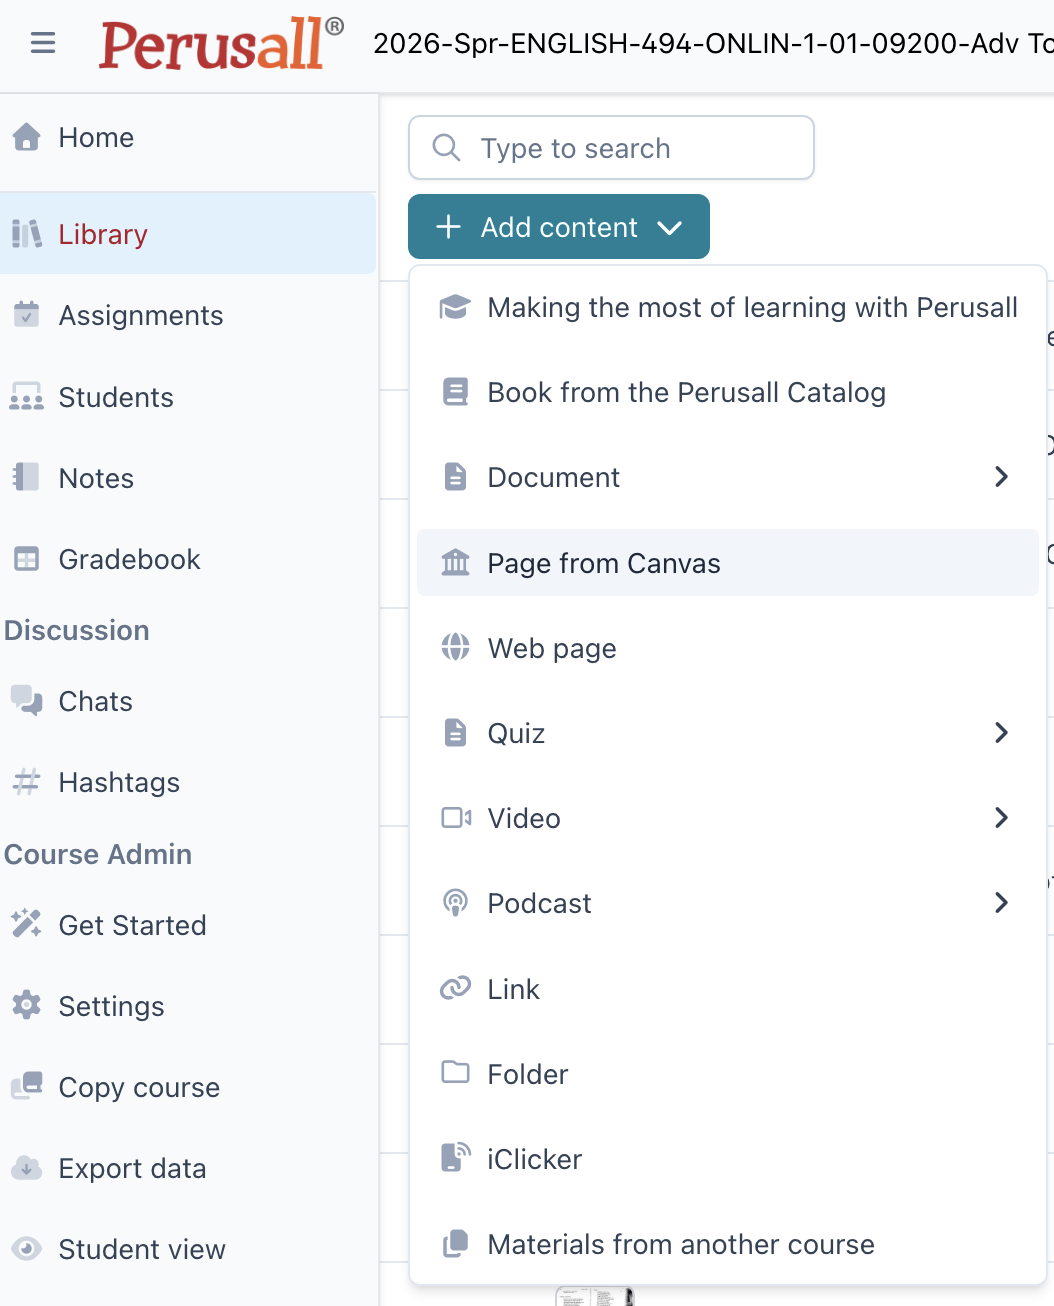
It will ask you to confirm that you’re logged in to your Canvas page and then uploads the document. You can then add it to the Assignment by editing the Assignment to which the reading has been assigned.
If you make a change to the Canvas page, you will have to re-upload it and re-add it to the Assignment (deleting the old one), since the change won’t show up in Perusall otherwise.
I think it makes a cleaner, more inviting space for student comments.
Despite the time commitment, I like the way this materials redesign looks.
